Liz Davies is one of three Platform Graduate Award artists showing their work at Modern Art Oxford this year, and a recent fine art graduate from The Ruskin School of Art, University of Oxford.
In this post she shares the process of making one of her artworks: the giant inflatable pink teddy in her exhibition Every day I put on my silly little outfits and do my silly little tasks, in our Creative Space until 30 October.
Ingredients
- hair straighteners you don’t care too much about
- heavy duty bin bags (clear), which come with a complimentary belittling from your local hardware shop. I personally recommend ‘L-PRO CLEAR BIN LINERS 80LTR 50 PACK (2948F)’ from Screwfix as its the strongest and clearest plastic I’ve found, normal supermarket bin bags will most likely gum up and stick to the straighteners
- RIT bubblegum pink dye – Dyson dyes do not work for this!
- projector
- sharpie
- blu tack
- desk fan
Step 1
Find a pattern online – I use this one.
Step 2
Cut up all the bin bags so they lay flat – I used around 10 for my giant Teddy
Step 3
Set up the projector with the pattern, blu tack a sheet onto the projection wall
*remember the pattern may look huge when flat but inflated they’re smaller than you think!
Step 4
Trace each piece of the pattern on each sheet. Make sure you have enough of each (e.g 4 ears, 2 back pieces etc.)
Step 5
Cut out each piece – leave 1 inch around the outside as the plastic shrinks when it’s straightened together.
Step 6
fill a sink with hot water and the RIT dye, submerge all pieces and leave until the water is cold. Drain the sink and lightly squeeze all pieces. If you don’t want to dye the sink, line it with a couple of the bin bags.
Step 7
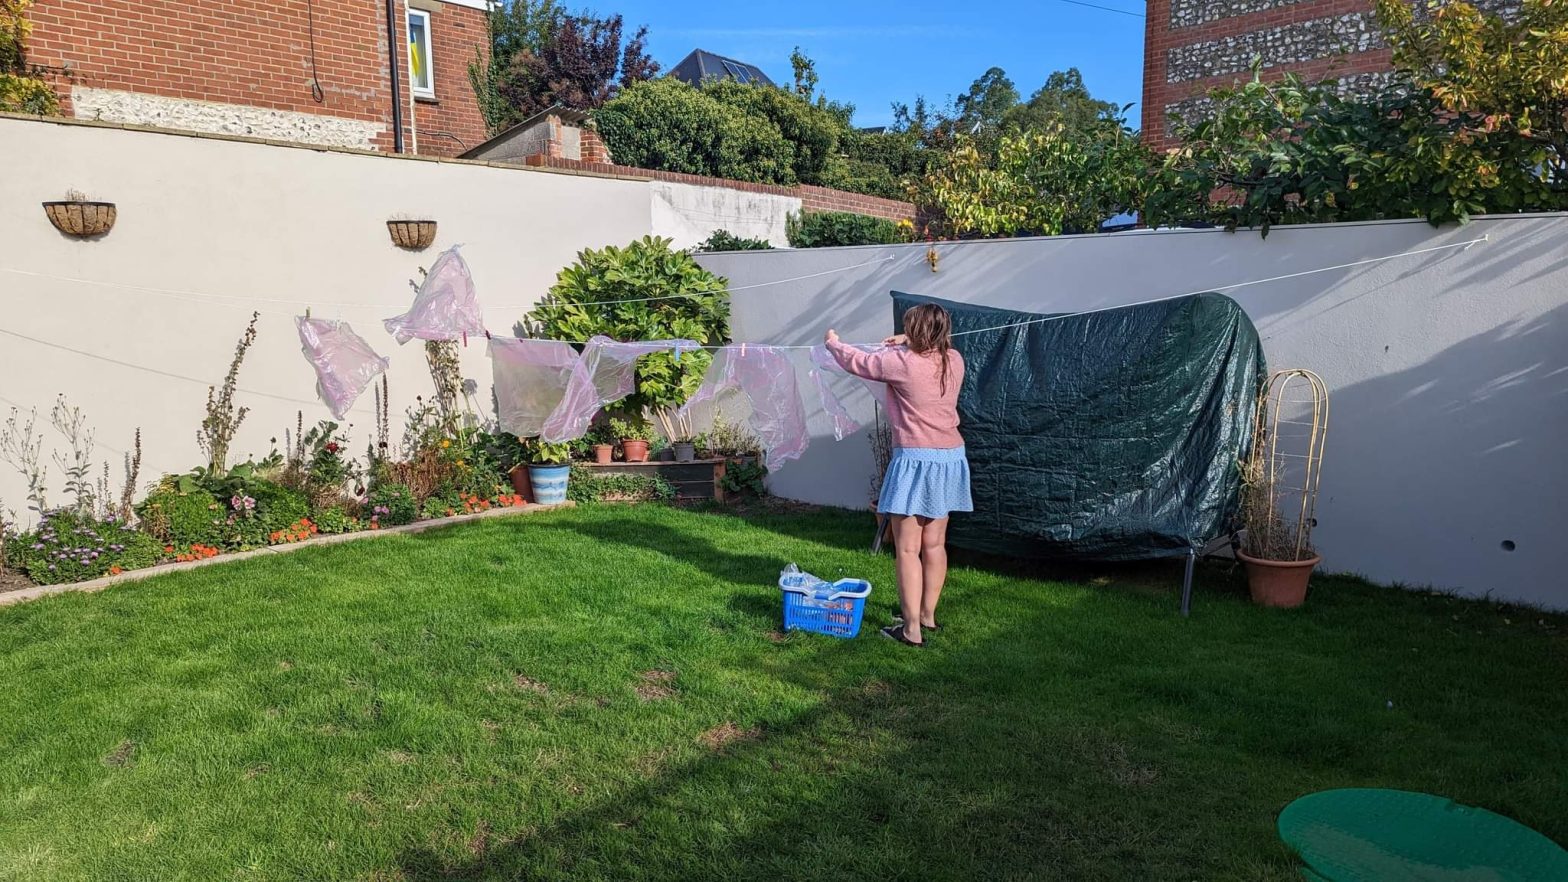
Hang all pieces on washing line to dry, alternatively dry off with kitchen towel.
Step 8
Arrange all pieces and begin assembling the pattern according to the instructions. Make sure to do the entire thing inside out and then reverse it at the end so it looks clean.
How to assemble
Set the straighteners to the lowest temperature possible, then clip along the line as if you were sewing the pieces together. The plastic should shrink and shrivel up, sticking together. If it is sticking to the straighteners it’s being held too long and/ or the heat is too high, if it isn’t sticking it isn’t hot enough. I regularly turn my straighteners off to avoid overheating.
Step 9
Once all pieces are done, cut a fan sized hole (go slightly too small at first) in the back and then reverse the Teddy. Attach the fan and voila! You have made a friend!
Visit Liz Davies: Every day I put on my silly little outfits and do my silly little tasks until 30 October 2022.
